Drink the Juice! KRAUTONICS

KT's rectangle.jpg

3+ ways to use our Krautonics

We love our Krautonics and often feel they get pushed to the wayside as Kimchi, and hot sauce take the center stage. Today, we wanted to share a few ways to easily incorporate our Krautonics which, if your not familiar with are the briney liquids leftover from our krauts and kimchis. Teaming with antioxidants, trace minerals and live cultures these tonics can be taken by the shot, incorporated into soups, salad dressings and more! Read on to see our top 3 ways of enjoying our beloved Krautonics…


kim-daniels-BArWcH78kQ0-unsplash.jpg

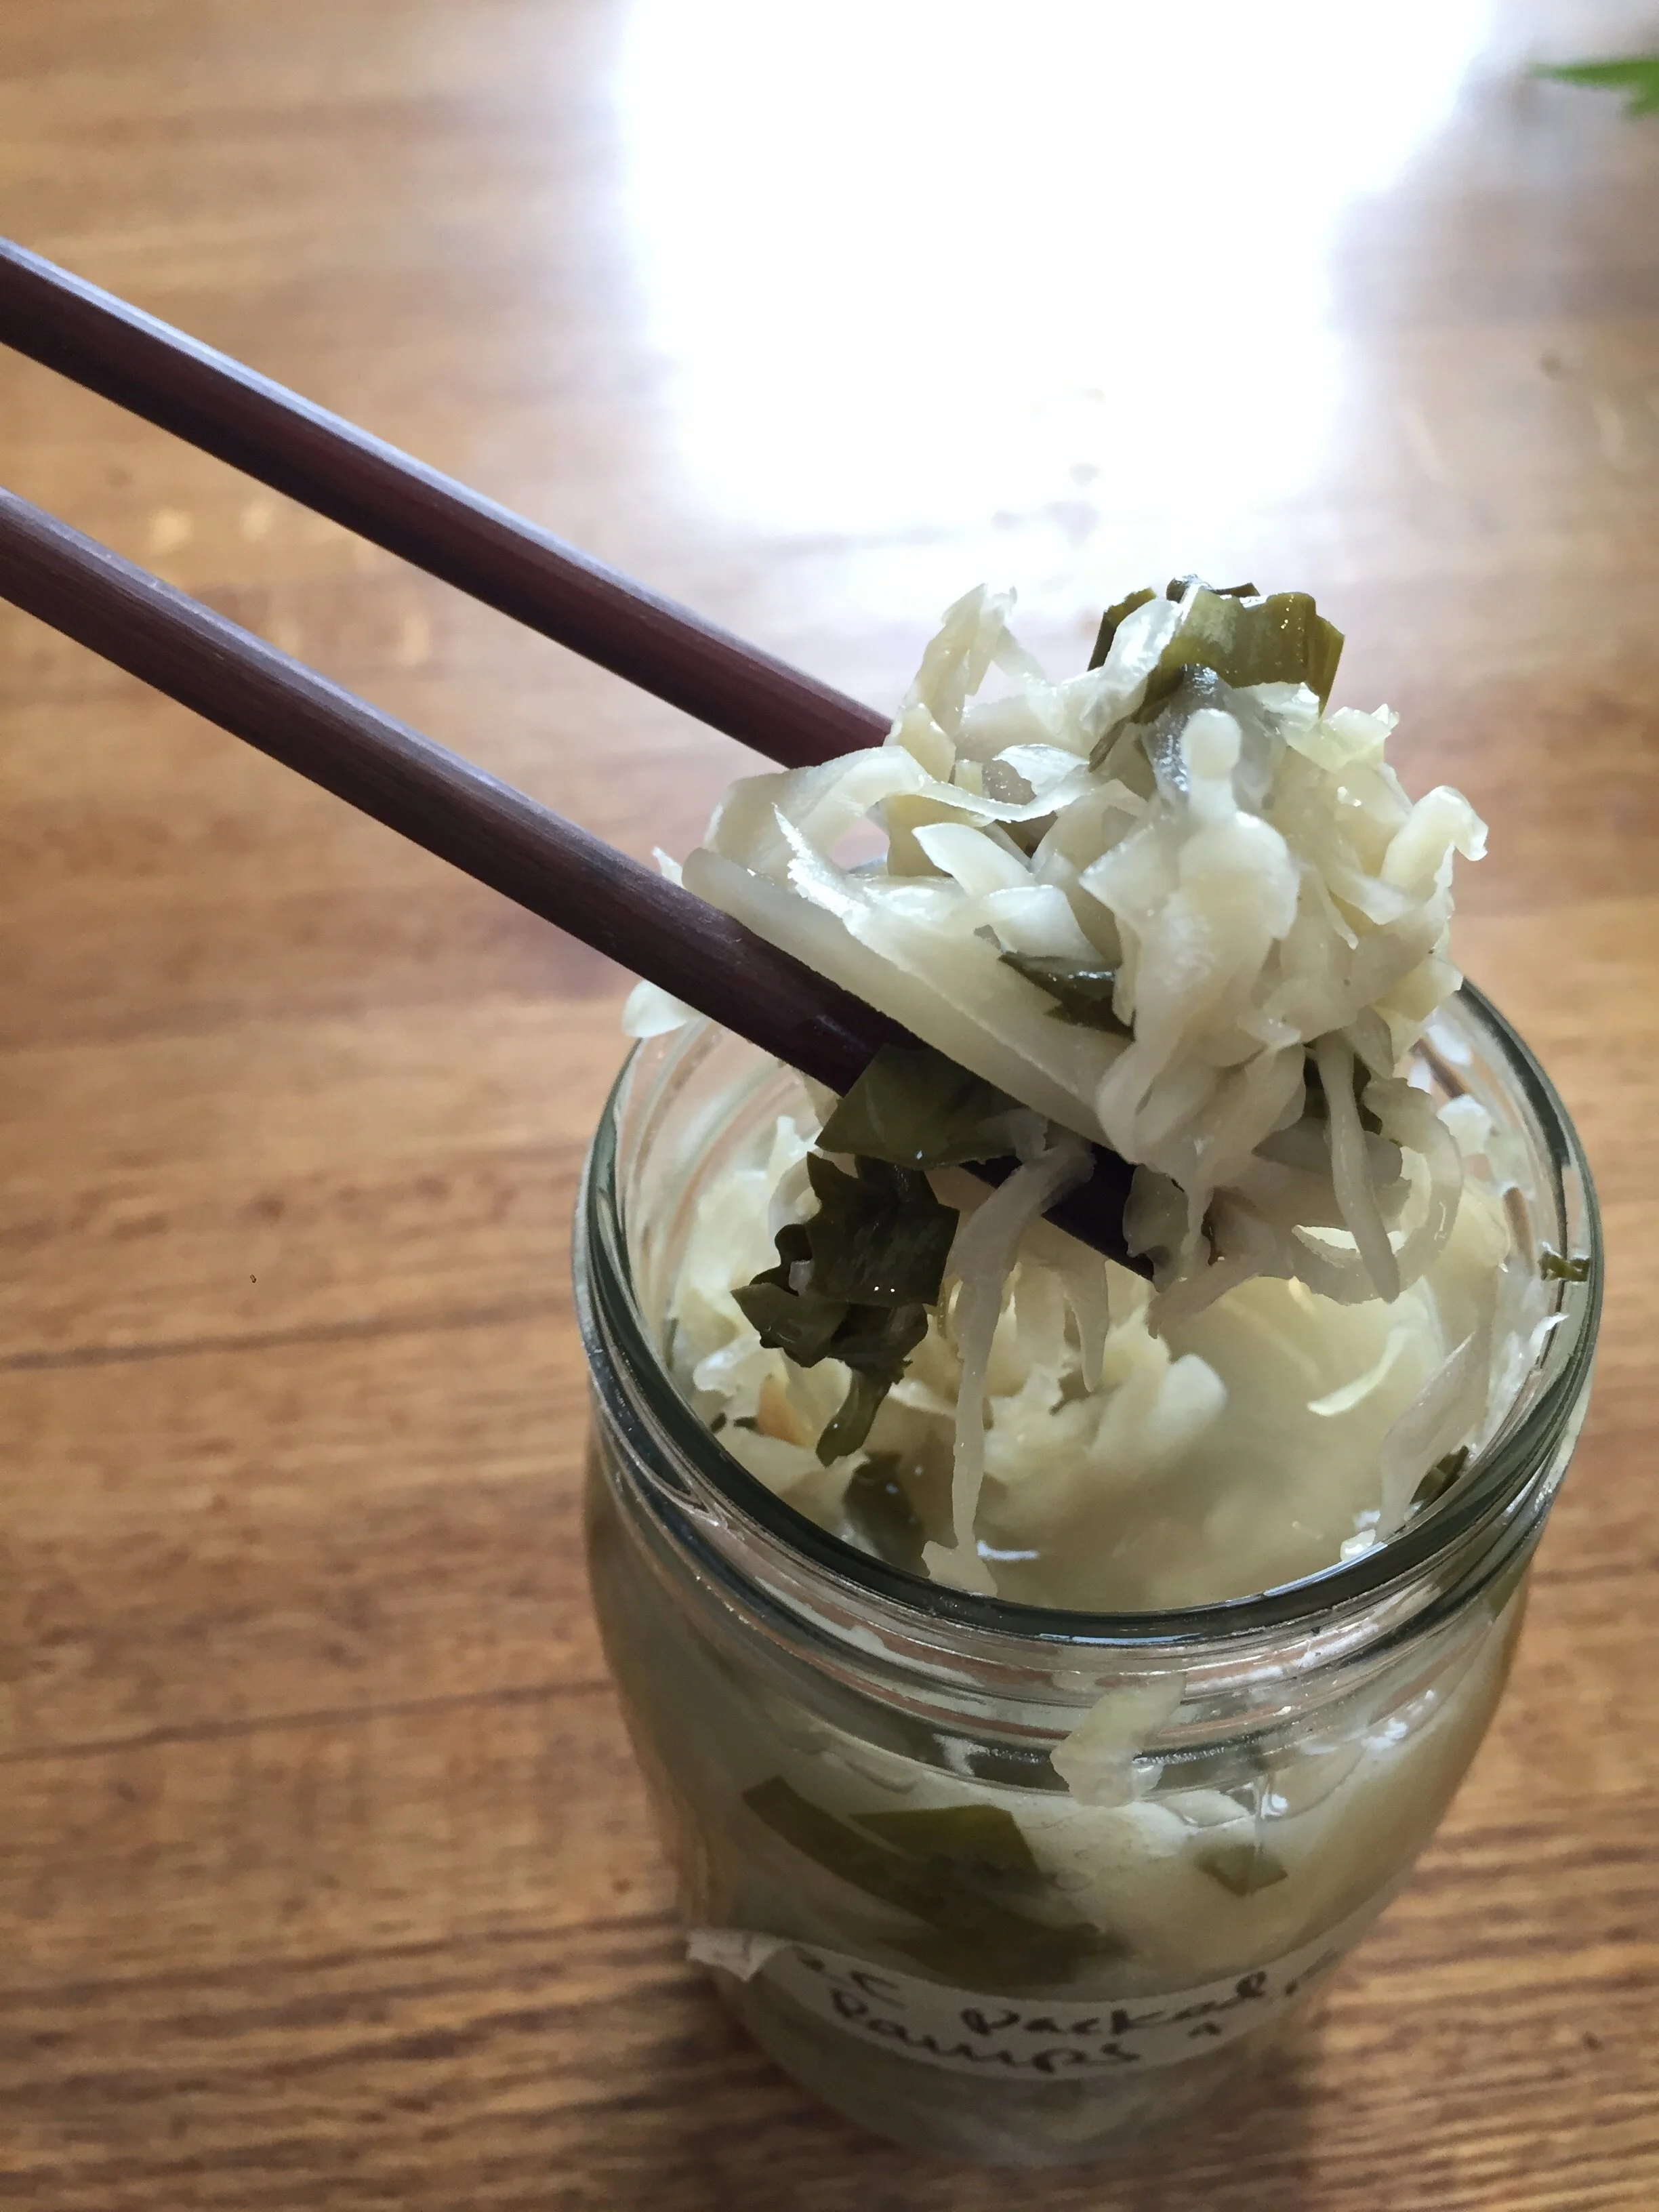
Krautonic quick pickle

Our Krautonics are pretty much brines (made from cultured vegetable juice, instead of just salt and water). This make a great base for pickling young, tender vegetables.

Cucumbers, small zucchinis, carrots, radishes and snap peas are favorites!!

Basic Instructions, improvise as needed:

1. Slice vegetables in rounds or cubes
2. Place in clean jar and cover with Krautonic of choice
3. Cap and tighten lid by hand
4. Place in fridge and let steep, taste after 1 week, you can let it continue steeping as long as you’d like!

Best stored in fridge. Your quick pickles will last indefinitely but have best flavor and texture within 6-9 months in the fridge.

brooke-lark-jUPOXXRNdcA-unsplash.jpg

Salad Dressing

cultured, that is!

We make a lot of salads at home, heres our go-to recipe:

-good quality olive oil, 1/2 C
-rice vinegar or lime juice, 1-2 Tablespoons
-krautonic (crimson and garlic scape top picks!), 3 Tablespoons
-soy sauce 1 tablespoon
1-2 garlic cloves, crushed
-dash of salt, healthy pinch of pepper
-optional: herbs of choice

Combine in jar, shake to emulsify. Taste, add more acidity if needed: your choice of vinegar, citrus juice, krautonic.


Citrus N’Tonic
Basic idea here is a 3 parts citrus juice to 1 part tonic of your choice. We love grapefruit juice this time of year, orange juice works nicely too, you can cut the citrus juice with water to your liking as well. As for which Krautonic to choose? We like either the plain krautonic or the garlic scape, the scape will add a teeny weeny essence of garlic.

Basic Recipe

  • fill your cup with 3 parts juice of choice

  • add 1 part krautonic of choice (we love plain krautonic or the garlic scape!)

  • DRANK! FEEL GOOOOOOD

Variation: Add some seltzer to it for some bubble!


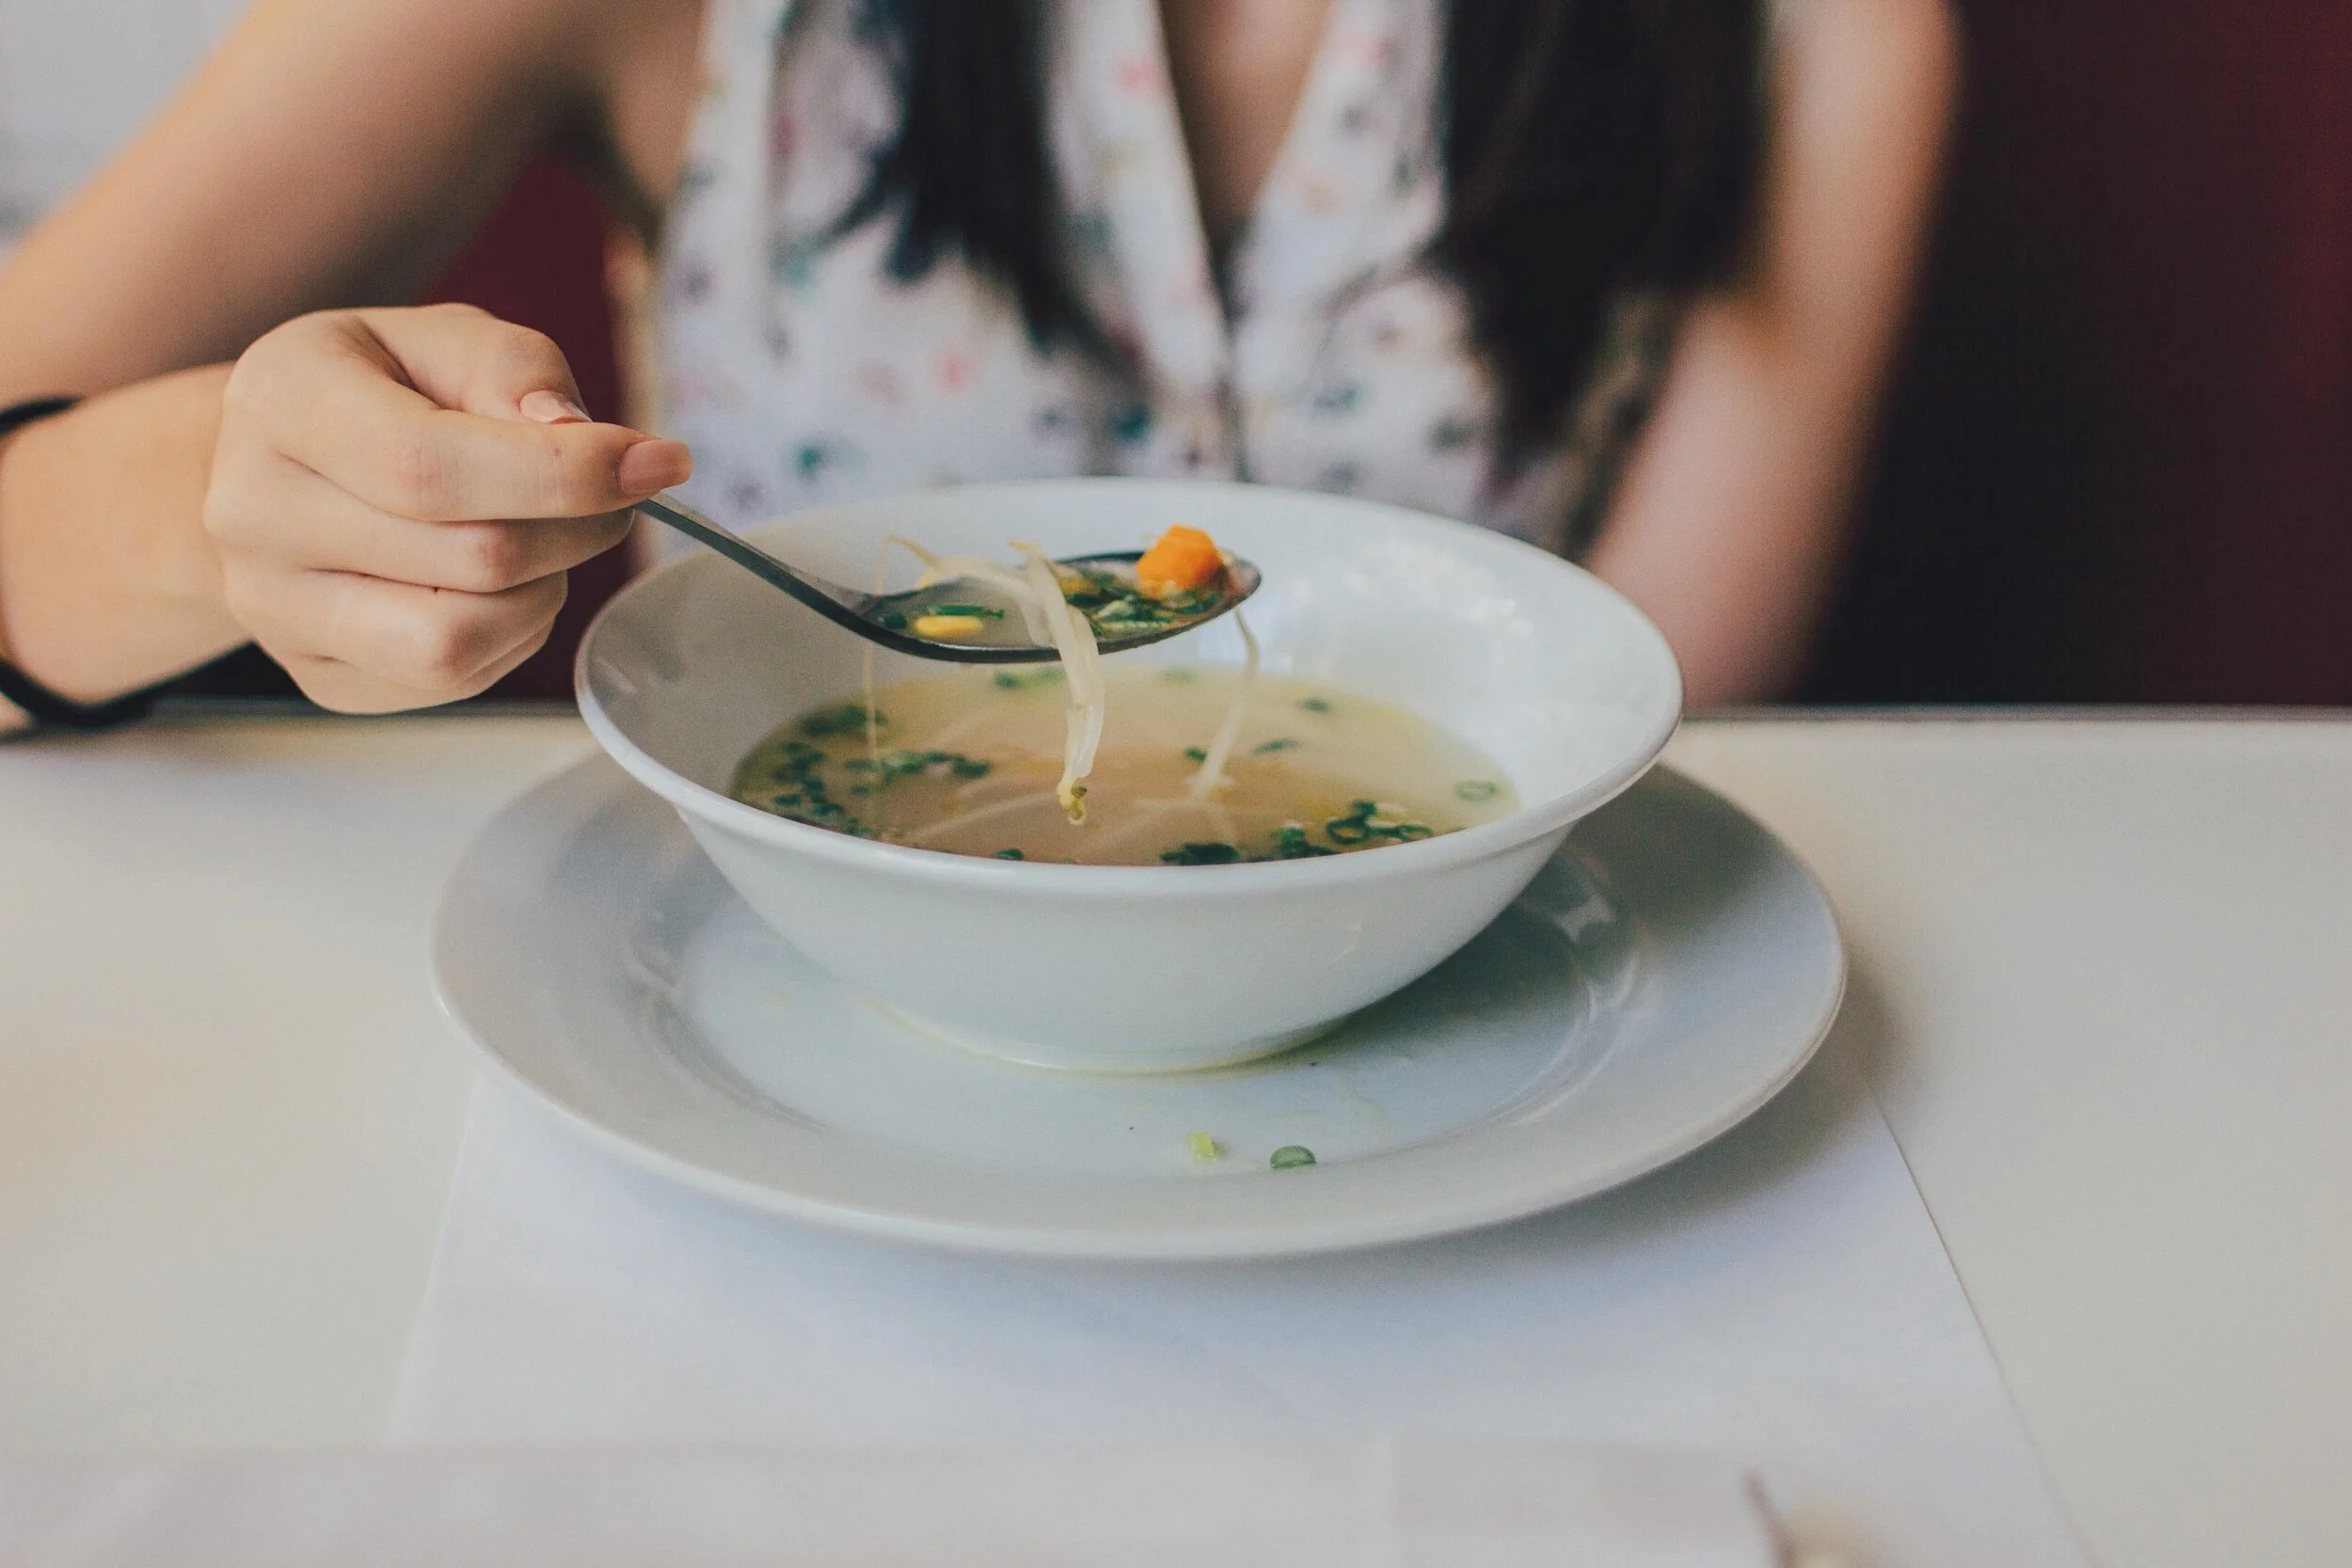
NEXT LEVEL SOUP AND BROTHS
Add it to soup and bone broths. SIMPLE!
Like you would add miso, mix it in directly right into your bowl, don’t heat to keep those cultures alive. Also great for a quick cool down to your kiddos bowl of soup. Keep in mind these tonics do contain salt, so add salt very last, if at all!

henrique-felix-JVkGUwTYQag-unsplash.jpg

The Vegan Paleo Diet: What’s It All About?

The Vegan Paleo Diet: What’s It All About?

The vegan paleo diet considers the source of the food, its freshness and how it was grown as an integral part of its nutritive value. At Hosta Hill, we are committed to crafting raw and unpasteurized food that is locally sourced.

Ramp Kraut Hack! Fermenting at Home with Ramps (and Other Wild Greens)

Ramp Kraut at Home! Plain Hosta Hill Sauerkraut with some ramps added in = delish

Ramp Kraut at Home! Plain Hosta Hill Sauerkraut with some ramps added in = delish

Hosta Hill’s Co-Founder Maddie Elling recently shared this no-fuss approach to making Ramp Kraut, a recipe that Hosta Hill used to make each season with wild-harvested ramps but which we discontinued out of concern from over-harvesting this special plant species.

For those who still crave the recipe at home, we wanted to offer up a simple approach for making your own ramp kraut with the request that you of course harvest mindfully.


See the full post from Maddie below!

———————————————————--

At Hosta Hill, we used to make a Ramp Kraut but stopped because we didn’t feel comfortable using a wild harvested plant in a commercial product. Since people still ask for it, I got to thinking how easy it would be to infuse some freshly harvested ramp greens into a jar of already made kraut, so I finally got around to trying it and it worked beautifully!

Here's what I did: 

With clean hands I chopped about 1/2 cup of ramps greens, threw a whole 16 oz jar of sauerkraut into a wide mixing bowl, sprinkled the chopped greens over it and mixed it well with my hands. I packed it back into the jar, put a date on it and put it back on the fridge. 

A week in the Ramp flavors are noticeable and delicious and it only gets better if you can let it go a little longer.

The beauty of this recipe is that you can use already made sauerkraut to produce a ‘Ramp Kraut’. There’s no need to ferment your own vegetables (though of course you can, if you want to).

Try this out ! Find yourself some consciously harvested ramp greens (or any in-season herbs, greens, or tender spring veggies) and incorporate into a jar of kraut. In times like these we gotta mix it up! Experiment! Enjoy! Have fun folks, share with us how it went by posting on instagram or sending an email at info@hostahill.com

Just a note on ramps!
Please be mindful when harvesting or sourcing ramps, they are a precious native plant and tend to get overharvested, depleted and their neighboring native plant friends trampled. If you want to read more into this issue, here's some information and musings from friend and herbalist Atalanta Sungurof.

Wild Pesto with Maddie

I’ve also been working with Flying Deer Nature Center this year and we recently produced a video on making Wild Pesto with wild greens like garlic mustard and nettles - which can also be used in the above recipe! Enjoy.

3 Fermentation Techniques Everyone Can Learn

3 Fermentation Techniques Everyone Can Learn

From our friends at Pyramid Ferments on Instagram - This gave us a hearty laugh!

From our friends at Pyramid Ferments on Instagram - This gave us a hearty laugh!

With widespread calls to “shelter in place” and stay at home during the Covid-19 pandemic, we have seen an explosion of activity in home cooking and fermentation across our social media platforms. Fermentation, in our minds, is receiving renewed affirmation as a legitimate method for food preservation and enhancement.

In light of that, we want to share 3 methods for home fermentation that might be helpful at this time. While each of these techniques has a learning curve (particularly the last one) they are absolutely achievable at home. Our goal with this post is to give you just enough of a boost in confidence to take the first step!

Method 1: Lactic-Acid Fermentation

Some homemade kimchi - we love using gallon sized glass jars for ferments at home, but pint and quart jars work great too.

Some homemade kimchi - we love using gallon sized glass jars for ferments at home, but pint and quart jars work great too.

Our method for sauerkraut, kimchi, and hot-sauce, lactic-acid fermentation (or lacto-fermentation, which, by the way, has nothing to do with “lactose” and refers to the lactobacillus bacteria responsible for fermentation) is about as simple and safe as it gets. Sure, you can buy our ferments at the grocery store (or online - and we appreciate it!), but that shouldn’t stop you from fermenting all sorts of vegetables at home.

What you need: Vegetables for fermenting (we love cabbage, carrots, radishes, onions, garlic, etc); salt (any type, but pure sea salt is best); and a container (glass jars work great).

The method: Vegetable fermentation has one rule. In the words of our friends Kirsten and Christopher Shockey: “Submerge under brine and you’ll be fine.” Literally, all you need to do is keep your vegetables under salt brine, and the naturally occurring bacteria already present on the vegetables will convert starches into lactic-acid through the magical process of fermentation.

Are there more things to consider? Sure. But after fermenting literally hundreds of thousands of pounds of vegetables ourselves, and also teaching many workshops on the subject, it is helpful to not over-complicate what is in reality a very basic process. The most important thing we can say about fermenting vegetables is that it is extremely safe. Botulism, which is the primary fear that most people share when approaching sauerkraut or kimchi, is not a risk for vegetable fermentation - it only occurs in canning, not lactic-acid fermentation. Beyond that, most people worry about yeast or mold that accumulates on the surface of their ferments over time. While we understand this can be scary, it’s also a somewhat natural outcome of vegetable fermentation and not something to be worried about. If your ferment does develop any form of surface scum, you can remove it from the top of your ferment and safely eat the remainder of your vegetables. Why is it still safe to eat your vegetables if there is yeast or mold on top? Because fermentation produces enough lactic-acid to create an environment that is food safe. Once removed from the batch, any problematic microorganisms your ferment might have been exposed to will not survive the acidic environment generated through fermentation - which is part of the magic behind why lactic-acid fermentation is so effective and simple as a food preservation technique.

For more detail, check out Sandor Katz’s classic post on the subject, or see the Shockey’s website for education, including their free e-course.

Method 2: Yogurt

Making yogurt at home is simple, safe, and a great way to produce large quantities of yogurt for cheap. Yogurt, like fermented vegetables, is also a great way to produce your own naturally occurring probiotic bacteria. The process for yogurt also has a wide margin of error - there’s not much that can go wrong. Even though you might not get Chobani-thick and delicious yogurt right off the bat, the process is achievable from the start and can be dialed in over time.

What you need: Quality milk; yogurt starter (we use store-bought yogurt for this); glass jars; an incubator setup for keeping milk warm over night.

Instant Pots are great for yogurt making at home if you have one, but not necessary. Photo credit via Moorlands Eater. Check out their blog!

Instant Pots are great for yogurt making at home if you have one, but not necessary. Photo credit via Moorlands Eater. Check out their blog!

The method: A basic yogurt requires a few simple steps. These are more of a guideline and do not need to be followed exactly. First, heat milk to at least 180F. While not absolutely necessary, doing this will alter the structure of milk proteins and yield a thicker yogurt in the end. Once heated, cool yogurt down to an approximate 110-115F (if you don’t have a thermometer, this is hot to the touch but not too warm to burn you. If in doubt, let the milk cool more than expected. because you don’t want to kill the starter bacteria you’re about to add). Remove / skim any solids that form on the top of your milk.

Once your milk has cooled, transfer milk to glass jars and add your starter culture ( a tablespoon dollop of store-bought yogurt with live cultures in it will work just fine) directly to the jar before placing in your incubator setup for 4 to 8 hours or longer. One tip we got from local cookbook author Alana Chernila was to simply plop a spoonful directly into your containers without stirring at all. The bacteria will easily populate the entire container, and for whatever reason, Alana has found, this simple technique produces a superior yogurt.

Now for the critical step: incubate yogurt at 110-115F for 4 to 8 hours (or longer). If you don’t have a yogurt maker or more sophisticated set up, the classic method is to keep jars in the oven with the oven light on, but you can also load up a cooler with jars or pots of hot water and continually change them out over a few hours. While the suggested temperature range is fairly specific, you’ll likely have success whether or not your yogurt incubates at precisely that temperature window. Remember that people have been using yogurt as a method for milk preservation for likely thousands of years before oven lights or incubators, so the process is really quite adaptable and flexible, and we encourage you to just go for it!

More resources for yogurt available here and here. Also check out this great post on making yogurt in an Instant Pot from Moorlands Eater.


Method 3: Sourdough Starter for Bread

The final method we want to offer is sourdough, whose role as a traditional technique for leavening bread has been tremendously affirmed at a time when the coronavirus is creating yeast-shortages. Sourdough starters simply utilize naturally occurring micro-organisms to create a “starter culture” for leavening bread. Sourdough starters are typically sourced from friends or local bakeries who maintain their own starter, but it is entirely possible to make your own at home.

Basic materials: Flour, water, a glass jar.

The method: Here, we defer to our friends at King Arthur Flour, who have produced this fantastic and comprehensive guide to creating your own sourdough starter at home. Check out their post here.

Of course, the starter is just the first step, and from there it’s time to bake bread! Recognizing that bread is a vast subject beyond the scope of this post, we again point you to King Arthur Flour’s Sourdough Baking Guide. Another great resource, both for beginning a sourdough starter and for baking sourdough more generally, is the Perfect Loaf.

If you do have access to yeast and are looking for a simple shortcut for baking bread at home, check out King Arthur Flour’s No Knead Bread Recipe.

Looking for more?

Vegetable fermentation, yogurt, and sourdough are the tip of the iceberg when it comes to fermentation. If you’re hungry for more, the best resource we can recommend is Sandor Ellix Katz’s Art of Fermentation, published and sold through Chelsea Green. Sandor’s website also has great information, and don’t forget to check out our friends the Shockeys’s website for more information.

Thanks for reading, and please feel free to reach out if you have any questions or comments at info@hostahill.com

Art of Fermentation by Sandor Katz is generally recognized as the “bible of fermentation.”

Art of Fermentation by Sandor Katz is generally recognized as the “bible of fermentation.”

Abundance in a Time of Crisis: Covid-19 and Our Food System

Abundance in a Time of Crisis: Covid-19 and Our Food System

As we recently wrote in this instagram post, we are extremely fortunate at Hosta Hill to be able to maintain the distribution and sale of our products during the Covid-19 Pandemic. As of this week (March 23rd), our amazing distributors Marty’s Local, Myers Produce, and Food Connects are all continuing to fulfill orders to retail locations through the Berkshires, Massachusetts, and in New York State. Things could change, but we’re grateful to be stable for now.

Unfortunately, many of our peers in food service have not been so lucky. A lot of businesses we know personally (and who use our ferments) have either pivoted to offering takeout and delivery or have shut their doors entirely. This article published in the Boston Globe offers a good window into how Massachusetts restaurants have been affected and the ways to support them.

More locally in the Berkshires, Berkshire Grown published a list of retailers and restaurants offering delivery and takeout services in the area (see here), as well as a blog on how to support local farmers while adhering to proper social distance protocol. We encourage you to support local businesses when and where you can!

Food banks and food access organizations are also in need of support at this critical moment, particularly as calls for quarantine encourage the stockpiling of food - leaving grocery store shelves empty and food banks under-resourced. If you have a little extra in your pocket, please consider donating to an area food bank. In the Berkshires, the many organizations listed here could use your support. For folks throughout Massachusetts and beyond, please see this article in the Boston Globe.

As part of our response, Hosta Hill will be donating a jar of sauerkraut to People’s Pantry in Great Barrington for every two jars sold via our online store through April 15th. We have seen an uptick of online sales in the last few weeks and want to use this increase in sales to support food access in the community. However, if you do not want or need sauerkraut at this time, we’d encourage you to throw some cash towards a local organization of your choosing!

Moving forward, please keep the most vulnerable among us in mind as we weather this crisis together in the coming months. Our hope for all is that we would respond not with scarcity but abundance: Stay home if you can, practice effective social distancing, and find ways to support your community through mutual aid and solidarity. And if you need something to do, start a garden, ferment some vegetables, and take refuge in the beauty of Spring.

Please reach out via info@hostahill.com with questions or comments.

P.S. If you live in the Berkshires, you can get Hosta Hill as a part of your delivery through Square Roots Farm! We are partnered up with them and thrilled that they are making their farm-fresh-food available to residents throughout the county. Here is a link to their online order form.

List of links from this post:

Massachusetts Restaurant Owners Need Relief Now, and They’re Asking for It

How to Support Local Farms from a Distance

4 Ways to Support Local Farms and Local Food - Berkshire Grown Newsletter

Berkshire County Food Pantries

Here’s how you can donate to organizations helping people affected by coronavirus shutdowns

Stocking Up Is Impossible When You Lack Enough for Today: Food Banks Struggle as Coronavirus Crisis Intensifies

Coronavirus catalyzes growing wave of grassroots action despite social distancing

People’s Pantry

Coronavirus catalyzes growing wave of grassroots action despite social distancing